Gordon Myers
Articles on Life, Truth, Love, Computers, and Music
The Ten-Egg Challenge: Part 9
Day 9: Eggs in a Basket
I couldn't make up my mind for what style of egg I wanted to cook for the penultimate day of the Ten-Egg challenge. I went back and forth for awhile; I considered doing a basted egg, a medium boiled egg, and even a shirred egg, but finally decided on eggs in a basket. Basting an egg isn't really so much a unique type as it is just a different style of cooking sunny side up eggs. Medium boiled is really still a soft-boiled egg at heart, only chunkier. And a shirred egg isn't something you'd ever order at any breakfast place; it more resembles cooking a casserole than making breakfast. But eggs in a basket is a fairly popular style, and even though the egg part of it only comprises half of the ingredients, it is still an egg at heart.

To make eggs in a basket, you will need:
- A slice of bread,
- A cup,
- Lots of butter,
- A frying pan,
- A spatula, and
- An egg
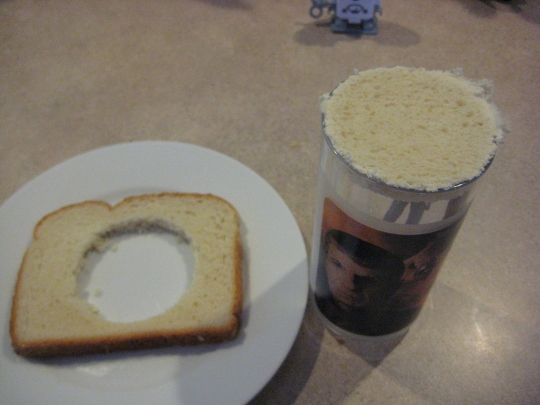
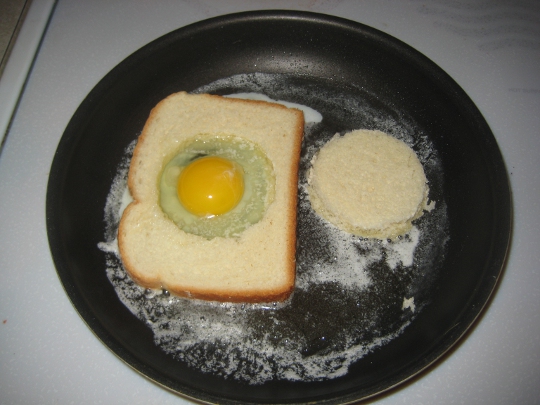
Begin by greasing the pan with copious amounts of butter, and setting the burner to a medium heat. Keep in mind that you will actually have to add in more butter as the process continues. Take the cup and use it to cut a hole out of the middle of your slice of bread. I considered doing shapes more creative than just a plain old circle, like a star or a silhouette of godzilla, but since this was my first time ever making eggs in a basket, I decided it'd be better to just focus on the flavor than the flair - this time around. (By the way, as you can see from the picture above, I actually used one of my Star Trek glasses as my "cookie cutter." I won a set of these glasses for winning the weekly football pool at my office.) Once the butter has melted, drop your piece of bread in the pan (this is called the "basket"), and also drop the cut-out piece of bread in the pan, too, but not in its original hole. This piece is called the "hat." Then crack an egg into the hole in the basket, and wait.

After about a minute or so, when the egg whites have fully solidified, take your spatula and give the whole thing a flip. Also flip the hat. At this point, drop a few globs of fresh butter into the pan, and spread everything around so that the bread absorbs the butter on both sides. You'll find that flipping this is actually a lot easier than flipping a regular egg on its on. The reason is because the bread already has a firmness to it that's easy to manipulate, and as the egg cooks it latches onto the bread and becomes one with it, much like the parasitic relationship that a male angler fish has with a female.

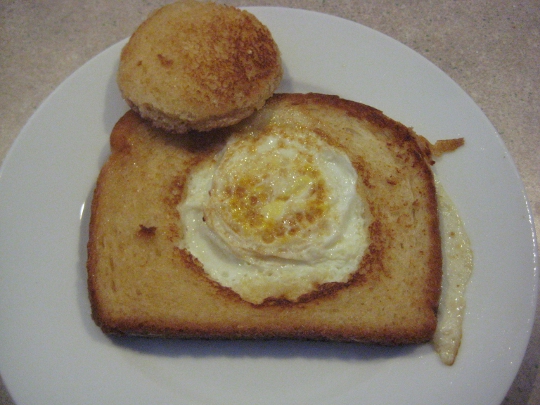
Once it's been flipped, let it cook for another minute or so. You can kind of decide your own timing system here depending on how runny you want the yolk to be. Less time means more runny, more time means more like hard boiled. Then when time's up, use the spatula to flip it back into its original position and onto a serving plate. The egg should hold on tightly to the bread. And you can just place the hat wherever you like. As you can see in the picture, I placed mine askew on the eggtoast's head, as if it were looking up and saying to me, "hats off to you Gordon, why don't you have me for breakfast."

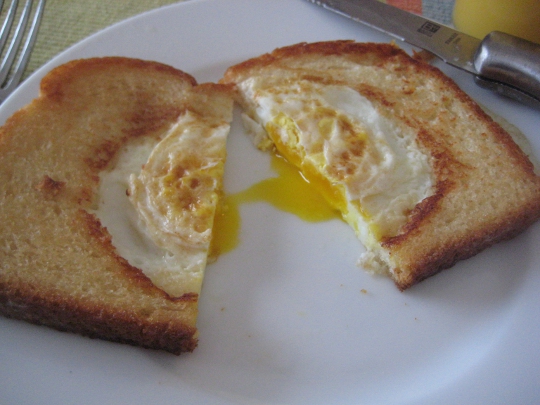
The results? Decent. The bread looks exactly like toast looks, which leads some people to refer to this style as "egg and toast." The texture of the bread is even the same as toast, but the flavor is distinct. It's not toast, strictly speaking; it's fried bread, which does taste a little different than toast. All the many attempts I spent yesterday trying to cook the perfect over medium egg must have finally sunk in, since it just so happened to turn out over medium today with a partially runny yolk. Eggs in a basket get a middle of the road 6 out of 10 from me.
And now I must bid you adieu, dear blog readers, since it is snowing like crazy outside and I'm going to go SLEDDING. :} Check back tomorrow for the final challenge!